前端包管理工具bower安装与介绍
什么是bower?
Bower是一个客户端技术的软件包管理器,它可用于搜索、安装和卸载如JavaScript、HTML、CSS之类的网络资源。其他一些建立在Bower基础之上的开发工具,如YeoMan和Grunt
用我的话说就是,它跟PHP的Composer,Python的pip,Ubuntu的apt-get等一样,bower是一个前端的包管理工具,也就是你可以定义使用哪些包,如jquery,就可以方便的下载下来,统一管理。
使用bower
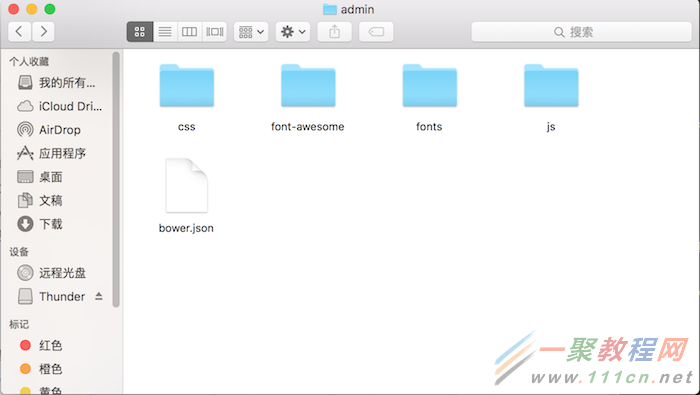
打开这个“后台管理”目录,结构如图:
bower_json
这里有一个bower.json文件,还有一个bower_components文件夹。(boewr_components文件夹是bower工具自己创建的)
打开bower.json文件:
{
"name": "startbootstrap-sb-admin-2",
"version": "1.0.8",
"homepage": "http://startbootstrap.com/template-overviews/sb-admin-2/",
"authors": [
"David Miller"
],
"description": "A free, open source, Bootstrap admin theme created by Start Bootstrap",
"keywords": [
"bootstrap",
"theme"
],
"license": "Apache-2.0",
"ignore": [
"**/.*",
"node_modules",
"bower_components",
"test",
"tests",
"pages",
"index.html",
"/js"
],
"main": [
"dist/css/sb-admin-2.css",
"dist/js/sb-admin-2.js"
],
"dependencies": {
"bootstrap": "~3.3.6",
"datatables": "~1.10.4",
"datatables-plugins": "~1.0.1",
"flot": "~0.8.3",
"font-awesome": "~4.2.0",
"holderjs": "~2.4.1",
"metisMenu": "~1.1.3",
"morrisjs": "~0.5.1",
"datatables-responsive": "1.0.6",
"bootstrap-social": "~4.8.0",
"flot.tooltip": "~0.8.4"
}
}
这个文件定义了要使用的前端的包,以及发布的路径,其中main就是把这些包存到哪个目录,dependencies定义了使用那些包。
有了这个bower.json文件,要安装这些包就十分简单了。
我的后台是用Laravel搭建的,静态资源文件夹在根目录的public文件夹下,后台的静态资源统一在/public/assets/admin文件夹下,于是把这个bower.json文件复制过去,如图:
laravel_bower_json
在虚拟机中进入这个目录,运行bower命令:
JavaScript
bower install
这样就开始安装了。如果提示bower命令不存在,需要先安装bower工具,本文不介绍bower的安装。
如图所示,安装过程。
bower_install1
bower_install2
安装完成后,文件夹会多一个bower_components目录,里面就是安装的js和css包。
通过bower方式安装、更新、删除包就变得十分方便,把以前手动下载文件,手动更新的过程自动化了,这种思想都是为了使开发变得更加快速,规范。
设置git忽略
使用bower管理js,css的包,就不用把这些包提交到版本库中了,可以在git中设置忽略,只需要提交bower.json文件,在服务器端同样使用bower工具安装这些包,也不用担心文件版本不一致的问题。
安装并使用bower工具管理前端资源
在CentOS上安装bower工具,需要先安装nodejs,和npm工具,以CentOS 7为例:
yum install nodejs
yum install npm
安装好node和npm后,使用nmp安装bower工具:
npm install -g bower
-g表示全局安装
bower工具安装好后,我们来使用一下bower。
这里有一个bower.json文件,定义需要用到的js和css扩展包,也就是前端资源。
整个bower.json文件如下:
{
"name": "startbootstrap-sb-admin-2",
"version": "1.0.8",
"homepage": "http://startbootstrap.com/template-overviews/sb-admin-2/",
"authors": [
"David Miller"
],
"description": "A free, open source, Bootstrap admin theme created by Start Bootstrap",
"keywords": [
"bootstrap",
"theme"
],
"license": "Apache-2.0",
"ignore": [
"**/.*",
"node_modules",
"bower_components",
"test",
"tests",
"pages",
"index.html",
"/js"
],
"main": [
"dist/css/sb-admin-2.css",
"dist/js/sb-admin-2.js"
],
"dependencies": {
"bootstrap": "~3.3.6",
"datatables": "~1.10.4",
"datatables-plugins": "~1.0.1",
"flot": "~0.8.3",
"font-awesome": "~4.2.0",
"holderjs": "~2.4.1",
"metisMenu": "~1.1.3",
"morrisjs": "~0.5.1",
"datatables-responsive": "1.0.6",
"bootstrap-social": "~4.8.0",
"flot.tooltip": "~0.8.4"
}
}
然后使用命令:
bower install
即可。
如果遇到bower ESUDO Cannot be run with sudo的提示,则是你用root权限执行,bower默认不允许以root权限执行命令。那么就带上一个参数–allow-root,如下:
bower install –allow-root
安装完毕后,文件夹下多了一个bower_components目录,里面就是存放的需要的js和css资源。这样就方便多了,如想用jquery,就直接写上jquery和版本即可,还有常用的bootstrap等各种js和css资源。


